


Using UseResponse Feedback tool your feedback won’t be scattered around emails, messengers, live chat conversations, Slack, spreadsheets, and other places, but it will all be organized in a single place. With specialized community feedback software, your feedback boards will be the core source of truth where your product development team will be able to find customer-based insights that will help them build your next best features. It will be the place where your customers can go if they want to share their ideas knowing that their voice will be heard.
Introducing a Feedback Community can be a rare opportunity to change the habits of your customers, support, and development teams to reform the way of how the feedback is being collected and processed. In this post, you will find some tips on how you can get the feedback system running, introduce it, and help your customers and team understand the benefits of using specialized feedback software.
Things To Do Before Introducing Your New Feedback Portal to Customers and Team
Before you introduce the feedback portal or feedback widget to the audience, some preparation work needs to be done.
Feedback Portal Setup
While you can collect feedback privately and it will only be visible to you and your team, the most common practice is to organize a Community Feedback Portal. It can be Public (visible to everyone) or Closed (require authentication to see the feedback). You also can make use of single-sign-on (SSO) in this case.
When creating a Feedback Portal, make sure to use a clear name for your feedback board. Speak the customer language and try to be as specific as possible. While “feedback” has quite a general meaning, you can specify the title of your board to sound like “Feature Requests” or “Ideas Bank”. If you plan to have several boards for different products or areas of your product, state it in the title, eg. “Feature Requests for Admin Area”.
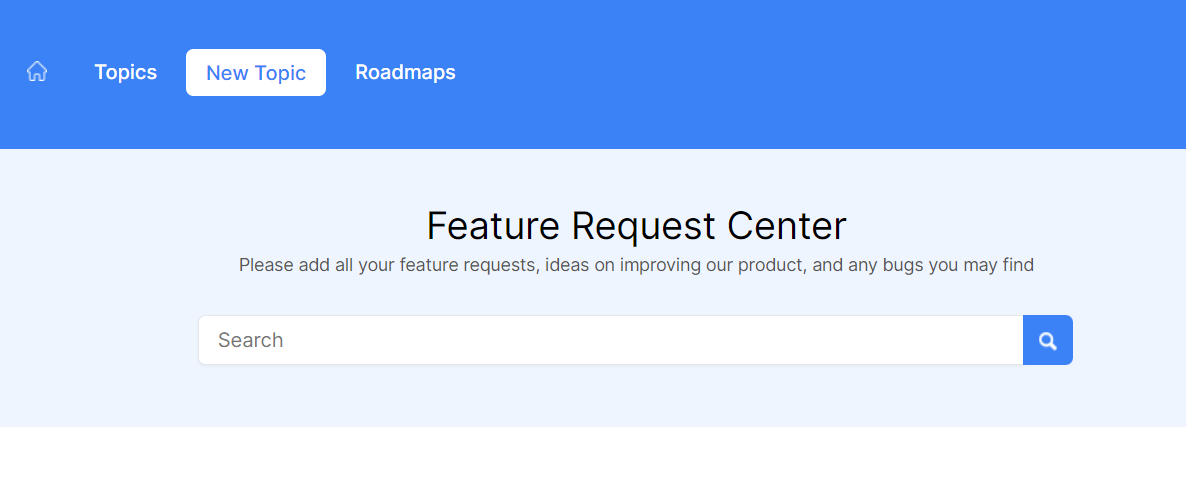
Add a short description to the board to guide your customers and explain what they can do. You can add a short copy like:
“Here you can share your ideas and feature requests on improving our product, post your questions or issues. You can browse the ideas of other users and vote for them and communicate with our development team.”
You can also create a page with a more detailed description of how you expect customers to use your feedback portal, post rules of conduct, and whatever you find important to tell (like ask them to specify the version of the product they are currently using or post one request per topic, etc.).
You can modify the design and layout of your Feedback portal completely using the admin area:

Categorize
Depending on the specifics of your company and product you may want to organize the feature requests by different boards or create several categories inside one feedback portal.
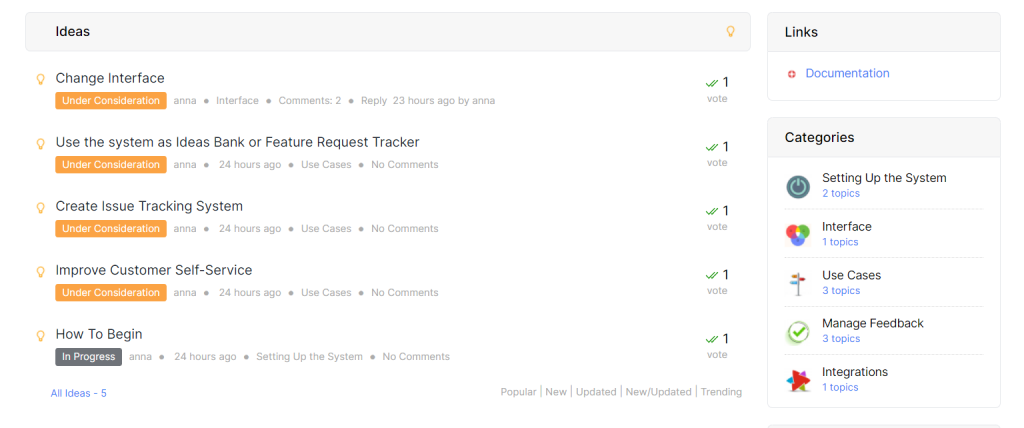
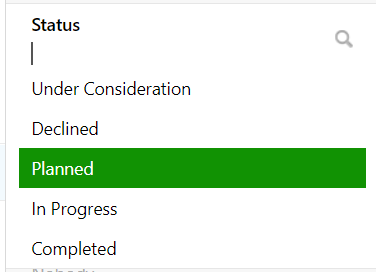
Define Statuses
Statuses are intended to communicate the development process. They are used to let the customers know the status of their request and add it to a separate column in the roadmap. You can use default system statuses or can change them according to your development flows.
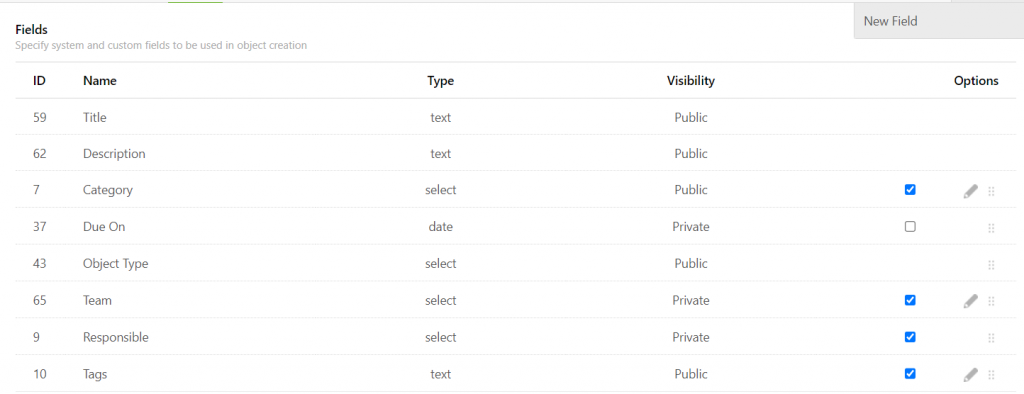
Feedback Form
Unlike other feedback tools, UseResponse provides you with great flexibility options. You can customize the feedback form to include custom fields, including conditional fields to collect the information you need.
All these settings will go a long way in adjusting the system according to the needs of your development team and keeping your board organized.
Add Some Content
We highly recommend adding some topics to get things rolling in your community. Look up your backlog, ask the development team what features are currently in development. With UseResponse you can add topics on behalf of customers, so filling the system with some ideas to start with should be easy.
By adding some ideas you will give your customers the tone of conversations, show examples of what a good feature request should look like, and encourage them to leave their feedback.
Introducing New Feedback System
It is no brainer that a feedback community portal should be easy for customers to find and use whenever they want. Whenever they have an idea or stumble upon something, they should have a quick and easy way to share their voice.
Changing the habits and asking your customers for some extra effort may meet resistance at the beginning, so when introducing UseResponse try to explain the benefits of using an organized feedback system.
For example, you can list the following:
- Feedback boards are the way to faciliate clear communications between developers and users
- Feedback tool helps to bring transparency to the development process
- It’s a way to crowdsource ideas and have the customer voice being heard
- This way feedback will be better organized and updates will be better communicated to the users
- Customers can see what features are requested by others and make their input
Ways To Introduce Customer Feedback Portal
You should use several communication channels to introduce your feedback portal and make it easy for customers to access at any time. Remember to constantly update the statuses of the topics and communicate with the customers to make sure no feedback is lost.
There are several options of how you can introduce UseResponse to your customers.
Include a Link in Your Product or Website
Your customers shouldn’t have to put extra effort to search for an opportunity to leave you feedback. You should offer an easy and obvious option to leave feedback. Add a “Feedback” or “Feature Requests” link to a commonplace like Help or Account navigation menu, as well as the Contact Us area.
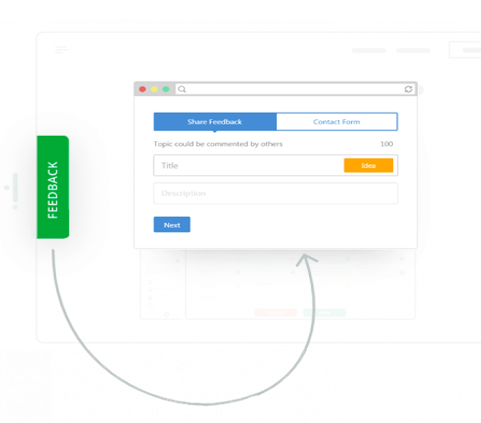
Add Feedback Widget
Feedback widget can be a little tab or a button that people can click on to navigate to your idea board or open the pop-up feedback form.
Add a Link in Your Newsletter
Another way is adding a link to the newsletters in which you notify about new features, news, and updates. Include a link to your feature request center at the footer of the newsletter.
It can be something like:
“Missing another feature? Let us know! Add feature request.”
Send In-App Notification
If you use a live chat tool, you can easily set up notifications for your users triggered on a certain action.
Here’s an example of such kind of notification:
“Your opinion matters!
We really appreciate and value customer input when deceding on what features to build next. Please leave us your feedback here [link]“
Send Out Specialized Email Announcement
If you want to introduce UseResponse in a more official way, think of sending a specialized newsletter introducing the new system and explaining its benefits.
Here’s a sample template for you to get started:
“Hi [customer’s name],
Our development team is constantly working on improving [product name].
We highly value our client’s input and integrate as much of it as we can into our development process.
In order to facilitate communications between the development team and users in both directions, we decided to introduce a feature request site [link].
This is great because:
- We can build features that you need, and you will get constant updates
- You can see what our team is working on in our roadmap [link]
- You can participate in crowdsourcing ideas and help us improve
The feedback we get here is invaluable while determining what to work on.
We welcome your feedback at [link]
Thank you!”
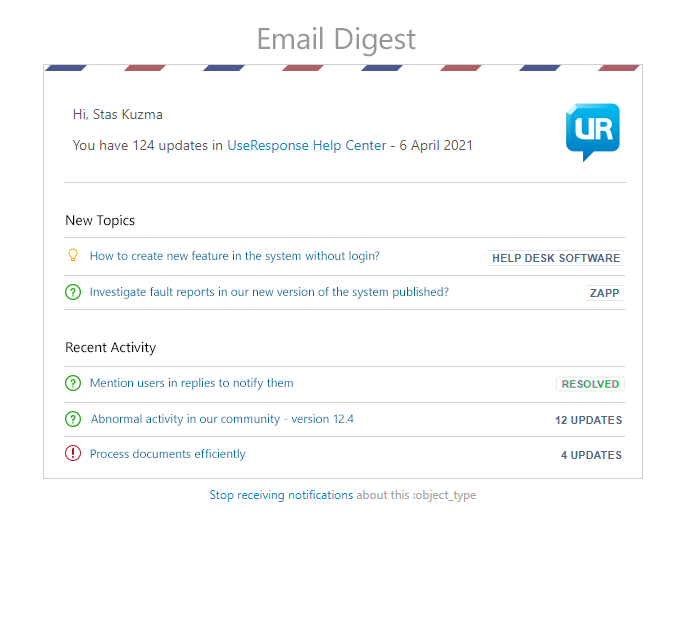
Sent Out an Email Digest
As soon as fill out some ideas and feature requests, you can update your customers and send out an email digest showcasing the most popular ideas and inviting them to join the conversations, add their ideas and vote for the existing ones. UseResponse has an inbuilt tool called “Email Digest” designed to send out such emails on a regular basis.
Create Blog Post Announcement and Use Social Media
Create a blog post announcing your new feedback portal. Use your social media channels to promote your feedback portal, so that more audiences and customers know where they should give you feedback.
After Introducing Feedback Community
At some point, some customers will still be sending their feedback via email or tickets. In case this happens, you can send forward them a link to UseResponse with short instructions on how to add feedback. This will notify and educate them that your feedback portal is the place where their feedback should go in the future.
Example message:
“We don’t currently support the [feature]. But for us to consider developing it in the future, please add your feature request to [link to your UseResponse portal] or add your vote if the feature request already exists. You will get updates when the status of your feature request changes”
You should also introduce the code of conduct for your team to log the incoming feature requests from the customers, should it be sales calls, support conversations, or any suggestions they have regarding your product.
Logging your feedback for your customers and being consistent with it shows that you’re actually listening.
Congrats, Your Feedback Portal Is Up and Running
Customer feedback is essential towards building products that customers love. When you create a dedicated customer feedback portal, it’s a lot easier to collect and manage the incoming feedback. In this post, we have described just the basic settings of the portal setup. There are way more possibilities and automation options to be implemented at the point when your community finds the value in using such a system and the volume of your feedback grows.